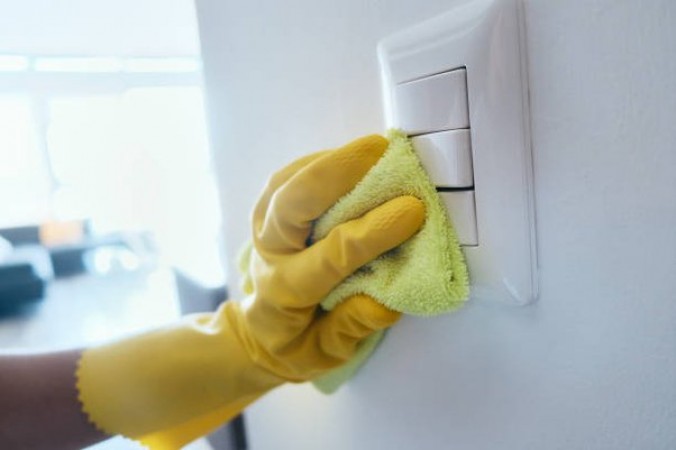
If you're looking to give your living space a quick refresh, one often-overlooked area is the switchboards. Over time, they can accumulate dust, dirt, and grime, making them appear old and unsightly. But fear not; in just a few minutes, you can make them look clean and fresh. In this guide, we'll show you how to do it without breaking a sweat.
Before you start, gather the following supplies:
A screwdriver is your first essential tool. It allows you to safely remove the switchboard cover, providing access to the switches and the board itself.
A microfiber cloth is perfect for wiping away dust and dirt without scratching the surface. It's gentle but highly effective, making it an ideal choice for this task.
Choose a mild cleaning solution for this job. A mixture of water and a gentle dish soap works well. Avoid harsh chemicals that could damage the switchboard.
Cotton swabs come in handy for cleaning the smaller and hard-to-reach areas of the switchboard. They're excellent for detail work.
Safety should always be your priority when working with electrical components. Before you begin, ensure your safety by turning off the power to the room. This step will prevent any electrical accidents while cleaning the switchboard.
Now that you've ensured safety, it's time to unscrew the switchboard cover. Use the screwdriver to carefully remove the screws holding the cover in place. Once the screws are out, gently lift off the cover. Be cautious not to touch any live wires.
Begin the cleaning process by using the dry microfiber cloth to gently wipe away any loose dust and debris from the switchboard. This initial step will make the deeper cleaning more effective.
Switchboards often have grooves and corners that can be a magnet for dust. Use cotton swabs to get into these areas and ensure you remove all the hidden dirt. This meticulous approach ensures that no nook or cranny is left uncleaned.
Dampen the microfiber cloth with the mild cleaning solution. Make sure it's not dripping wet, as excessive moisture can damage the switches and the board.
Gently wipe down the switches and the surrounding areas. Pay special attention to stubborn spots, but avoid applying excessive pressure to prevent damage. Your goal is to restore the switches to their original, clean state.
For the finer details, use cotton swabs dipped in the cleaning solution. They're particularly useful if there's grime or sticky residue on the switches. These swabs allow you to target specific areas for a thorough clean.
Once the switches are sparkling, dampen the microfiber cloth once more and wipe down the switchboard itself. This step removes any dirt and grime that may have accumulated over time, revitalizing the entire board.
As you clean the switchboard, you might come across stubborn stains. If you encounter such blemishes, apply a little extra cleaning solution and gently scrub until they're gone. This may require some patience and persistence.
Once you've cleaned the switchboard and switches thoroughly, make sure everything is completely dry before reassembling the unit. A damp switchboard can be a safety hazard and may lead to electrical issues.
With the components dry, carefully place the cover back on the switchboard and secure it with the screws. Ensure that the screws are snug but not over-tightened. Proper reassembly is crucial for safety and functionality.
Now that the cover is securely in place, safely turn the power back on for the room. Make sure to test all the switches and verify that everything is functioning correctly. Safety is paramount, so don't skip this step.
Take a moment to inspect your freshly cleaned switchboard. It should now look considerably cleaner and more appealing, enhancing the overall aesthetic of your living space.
To keep your switchboard looking its best over the long term, consider regular maintenance. Periodically wipe it down to prevent dirt buildup. This simple step will help ensure that your switchboard continues to look fresh and presentable. In conclusion, cleaning your old and dirty switchboard is a small yet impactful task that can make a surprising difference in the overall appearance of your living space. By following these simple steps and maintaining your switchboard, you can ensure it always looks fresh and presentable. Remember, regular maintenance is key to keeping your switchboard in top shape, and it only takes a few minutes of your time to make a significant difference. So, why wait? Give your switchboard the TLC it deserves!
Dedh Ishqiya's Royal Aura: Huma Qureshi's Family Jewelry Takes Center Stage