Is that old exhaust fan in your home making a racket that rivals a jet engine? If the answer is yes, you're not alone. Many homeowners grapple with noisy exhaust fans that disrupt their peace and quiet. The good news is that you don't have to endure this auditory assault any longer. In this article, we'll share three effective tricks to silence your old exhaust fan and have it running like new.
Before we dive into the solutions, let's understand why your exhaust fan is making such a racket in the first place. The noise is usually caused by a combination of factors, including:
Over time, dust, dirt, and debris can accumulate in the fan blades and motor, causing friction and noise.
The bearings that support the fan blades may deteriorate with age, leading to squeaking or grinding sounds.
Exhaust fans have various components that can become loose or damaged, contributing to the noise issue.
Now that we know what's causing the noise, let's explore how to fix it.
The first and simplest trick to silence your noisy exhaust fan is a thorough cleaning. Here's how to do it:
Before you begin, ensure that the power to the fan is turned off to prevent any accidents.
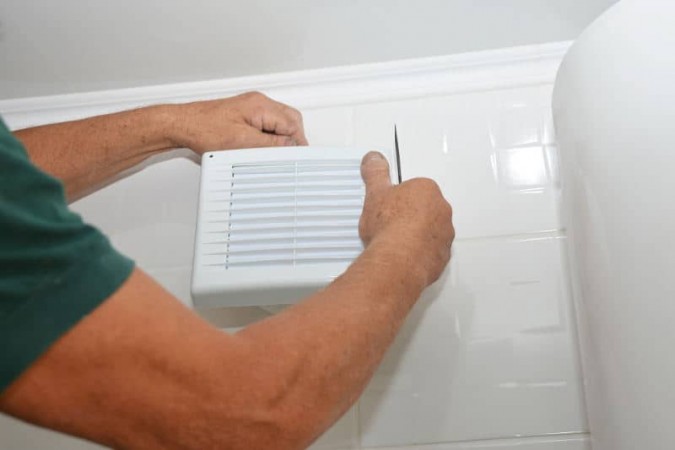
Most exhaust fans have a removable cover. Take it off carefully to access the fan blades and interior.
Use a soft brush or vacuum cleaner to remove dust and debris from the fan blades and the interior of the fan. Be gentle to avoid damaging any components.
If the fan has accessible bearings, lubricate them with a silicone-based lubricant to reduce friction and noise.
Put the cover back on and turn the power back on to test the fan. You should notice a significant reduction in noise.
Sometimes, the noise is caused by loose components within the exhaust fan. Here's how to tighten them up:
As with cleaning, safety first – turn off the power.
Carefully inspect the fan for loose screws, bolts, or other components. Tighten them securely.
Inspect the ductwork connected to the fan for loose sections. Secure any loose connections or joints.
After tightening all the parts, turn the power back on and test the fan. If it's still noisy, proceed to the next trick.
If cleaning and tightening didn't do the trick, it's time to consider soundproofing your exhaust fan:
You'll need soundproofing material, which can include acoustic foam, mass-loaded vinyl, or even simple weatherstripping tape.
Cover the interior of the fan housing with the chosen soundproofing material. Ensure it's securely in place.
Reassemble the fan and turn the power back on. The soundproofing material should significantly reduce the noise. Your old exhaust fan doesn't have to be a perpetual source of noise pollution in your home. By following these three tricks – cleaning, tightening, and soundproofing – you can enjoy a quieter and more efficient exhaust fan that operates like new. Say goodbye to that irritating noise and hello to peace and tranquility. Your ears will thank you!
Is There an Ideal Time to Consume Common Foods?