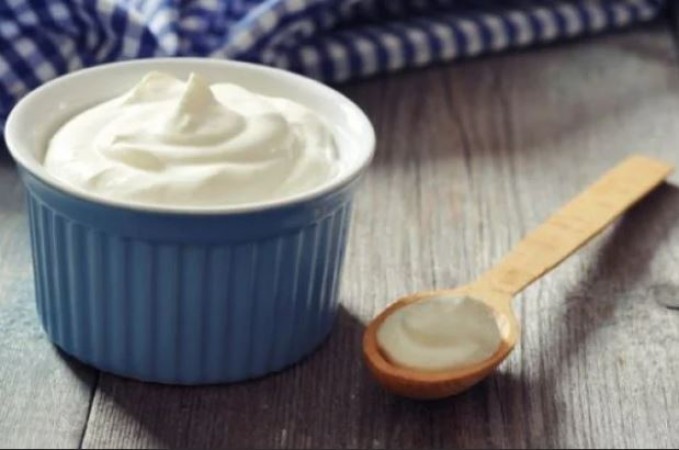
Curd, also known as yogurt, is a versatile dairy product enjoyed worldwide. It's not only delicious but also packed with essential nutrients and probiotics that benefit your digestive health. Setting curd the right way is crucial to achieve that creamy texture and tangy flavor. In this article, we'll explore the proper method for setting curd and discover how doing it at night can enhance its benefits.
Selecting the Best Base (H2) When it comes to making curd, the first step is to choose the right milk. Opt for fresh, full-fat milk for the creamiest results. Avoid milk with added preservatives or ultra-pasteurized milk, as they may not yield the desired consistency.
Sanitizing Utensils and Containers (H2) Maintaining cleanliness in your utensils and containers is crucial. Before you start, ensure they are thoroughly cleaned and dried. Any residual soap or water droplets can hinder the curd-setting process.
Warm and Cozy Environment (H2) Curd setting relies heavily on temperature. It's best to set curd in a warm and cozy environment. Room temperature between 25°C to 35°C (77°F to 95°F) is ideal for curd formation.
Introducing Good Bacteria (H2) To initiate the curd-setting process, you'll need a starter culture. You can use a small amount of previously prepared curd or opt for commercial yogurt starters. Make sure the starter culture is fresh and not too old.
Incorporating the Starter Culture (H2) Gently heat the milk until it's lukewarm, around 110°F (43°C). Then, add the starter culture to the milk and mix it thoroughly. Ensure that the culture is evenly distributed in the milk.
Let It Rest (H2) Once the starter culture is mixed in, cover the container with a lid or a clean cloth. Place it in a warm, undisturbed spot for fermentation. Avoid moving or jostling the container during this time.
Fermenting Overnight (H2) Now, here's the secret to doubling the benefits. Setting curd at night and leaving it to ferment overnight can enhance its taste and nutritional value. The extended fermentation period allows the beneficial bacteria to proliferate, resulting in a thicker and more flavorful curd.
Assessing the Curd (H2) In the morning, check your curd. It should have thickened and developed a pleasant tangy flavor. If it hasn't set properly, you can leave it for a few more hours.
Chilling the Curd (H2) Once your curd has set to your satisfaction, transfer it to the refrigerator. Chilling the curd not only preserves its freshness but also enhances its taste.
Enjoying Your Homemade Curd (H2) Homemade curd can be used in various ways. You can enjoy it plain, with fruits, as a topping for desserts, or as a base for creamy dips and marinades. Its probiotic content makes it a healthy addition to your diet.
Dealing with Common Issues (H2) If your curd doesn't turn out as expected, don't worry. Common issues include runny curd or a sour taste. Adjusting the milk-to-starter ratio or the fermentation time can often resolve these problems.
Mastering the Art of Curd Making (H2) Setting curd is a simple yet rewarding process. By following the right steps and allowing it to ferment overnight, you can elevate the taste and health benefits of your homemade curd. Experiment with different milk types and starter cultures to find your perfect combination.
So, next time you prepare curd, remember to choose the best milk, maintain cleanliness, use the right temperature, and let it ferment overnight for a delightful outcome. Enjoy your homemade curd in various culinary creations and reap the benefits of this nutritious dairy delight.
Eating These Foods Daily Can Help Maintain Healthy Cholesterol Levels
If You Want to Live for 100 Years, Make These Lifestyle Changes- Keep Illness at Bay
Spice Up Your Weight Loss Journey: How These Spices Help Shed Pounds