Mawa, also known as khoya, is a quintessential ingredient in many Indian sweets and desserts. It's a rich, creamy dairy product made by evaporating milk until it thickens and solidifies. Homemade mawa adds a fresh, authentic flavor to your dishes that store-bought versions often lack. Let's dive into the simple process of making mawa at home.
Before we begin, gather the following ingredients:
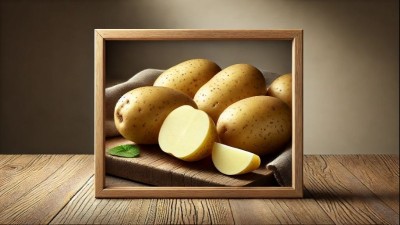
Full-fat milk: Opt for full-fat milk for the richest and creamiest mawa. The higher fat content contributes to a better texture and flavor.
Heavy-bottomed pan: A heavy-bottomed pan helps distribute heat evenly, preventing the milk from scorching during the cooking process.
Milk powder: If you're short on time, you can use milk powder as a substitute for fresh milk. It provides convenience without compromising on taste.
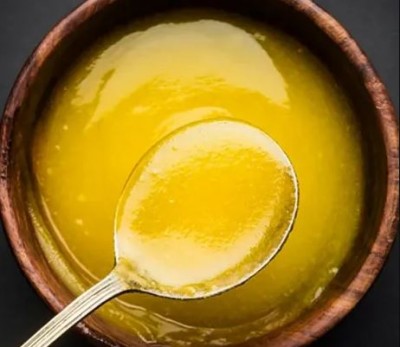
Ghee (clarified butter): Adding ghee enhances the richness and aroma of the mawa, giving it a more authentic flavor.
Start by selecting full-fat milk for the richest and creamiest mawa. The higher the fat content, the better the texture and flavor of your mawa. Avoid using low-fat or skim milk, as they won't yield the desired results.
Pour the milk into a heavy-bottomed pan and place it over medium heat. Allow the milk to come to a gentle boil, stirring occasionally to prevent it from sticking to the bottom of the pan. Boiling the milk helps remove any impurities and begins the process of evaporation.
Once the milk reaches a boil, reduce the heat to low and let it simmer. Simmering allows the milk to gradually evaporate, resulting in a thicker consistency. Stir the milk occasionally to ensure it cooks evenly and doesn't scorch.
As the milk simmers and reduces, it's crucial to stir it frequently to prevent it from forming a skin on the surface or sticking to the bottom of the pan. Continuous stirring helps distribute the heat evenly and prevents the milk from burning.
Continue simmering and stirring the milk until it thickens significantly and reduces to about one-fourth of its original volume. This process can take some time, so patience is key. As the milk reduces, it will gradually develop a creamy consistency.
As the milk continues to reduce, it will gradually change color, turning into a rich golden hue. This caramelization process adds depth of flavor to the mawa and enhances its overall taste. Keep a close eye on the milk to prevent it from burning.
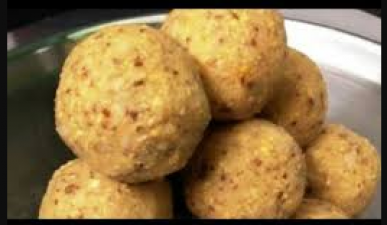
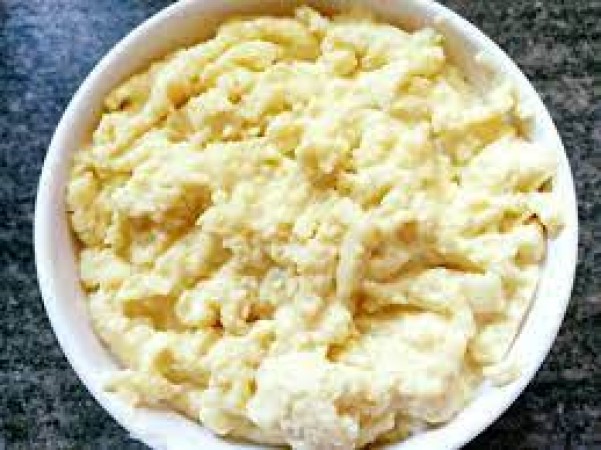
The mawa is ready when it reaches a thick, granular consistency and starts to pull away from the sides of the pan. It should resemble a soft, crumbly mass that holds its shape when pressed between your fingers. Remove the pan from the heat and allow the mawa to cool slightly before using it in your recipes.
If you prefer a quicker method, you can make instant mawa using milk powder and ghee. Simply mix the milk powder and ghee in a pan over low heat until it forms a smooth, thick paste resembling mawa. While this method may not yield the same depth of flavor as traditional mawa, it offers convenience and is perfect for when you're short on time.
Patience is Key: Achieving the right texture and flavor requires slow and steady cooking. Rushing the process may result in unevenly cooked mawa that lacks depth of flavor.
Low Heat: Always maintain a low heat when simmering the milk to prevent it from scorching and ensure gradual evaporation. Cooking the milk over low heat allows it to thicken slowly and develop a creamy consistency.
Consistent Stirring: Stir the milk frequently throughout the cooking process to prevent it from forming a skin on the surface or sticking to the bottom of the pan. Continuous stirring helps distribute the heat evenly and prevents the milk from burning.
Watch for Color Change: Pay attention to the color of the milk as it reduces. The milk will gradually change from white to a rich golden hue as it caramelizes, indicating that it's ready to be removed from the heat.
Storage: Once cooled, store the mawa in an airtight container in the refrigerator for up to one week or freeze it for longer shelf life. Proper storage helps maintain its freshness and flavor for future use.
Now that you've mastered the art of making mawa at home, you can use it to elevate your favorite Indian desserts such as gulab jamun, peda, barfi, and more. Experiment with different flavors and creations to delight your taste buds and impress your loved ones with your culinary skills. Homemade mawa adds a fresh, authentic touch to your dishes that store-bought versions simply can't replicate. So why wait? Get creative in the kitchen and enjoy the delicious rewards of your homemade mawa!
Poultry Farming: If you are rearing poultry then pay special attention to these things
Tech Giants Unite Against AI-Generated Election Meddling
ISRO's YUVIKA Program 2024: Enrollment Opens for Class 9 Students; How to Sign Up and More Details