In the pursuit of luscious, manageable hair, keratin treatments have gained significant popularity. These treatments offer the promise of frizz-free, smooth hair that can transform your look and boost your confidence. However, salon visits for keratin treatments can quickly add up, denting your wallet. The good news is that you can achieve salon-quality results without the hefty price tag by opting to do a keratin treatment at home. In this article, we'll guide you through the step-by-step process, helping you save your hard-earned money while achieving stunning results.
Before delving into the DIY process, it's important to understand what keratin treatments entail. Keratin is a natural protein found in hair that contributes to its strength and structure. Keratin treatments involve applying a specialized formula that contains this protein to the hair, creating a protective layer that smoothens the cuticles and eliminates frizz. The result is smoother, shinier, and more manageable hair.
Traditional salon keratin treatments can cost a small fortune, especially when factoring in follow-up appointments. Opting for a DIY treatment can significantly reduce expenses while providing comparable results.
Scheduling salon appointments can be time-consuming. DIY treatments offer the convenience of performing the process at your own pace, without the need to travel back and forth to a salon.
With a DIY approach, you have control over the products you use. This is particularly beneficial if you have sensitivities or preferences for certain ingredients.
Embarking on a DIY keratin treatment is an opportunity to learn more about your hair and its needs. You can tailor the treatment to address your specific concerns.
Before you start, ensure you have all the necessary supplies, including a keratin treatment kit, clarifying shampoo, a wide-tooth comb, a blow dryer, and a flat iron.
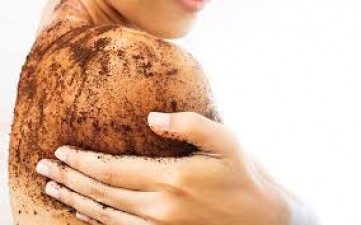
Wash your hair with a clarifying shampoo to remove any residues. This ensures that the keratin treatment can penetrate effectively.
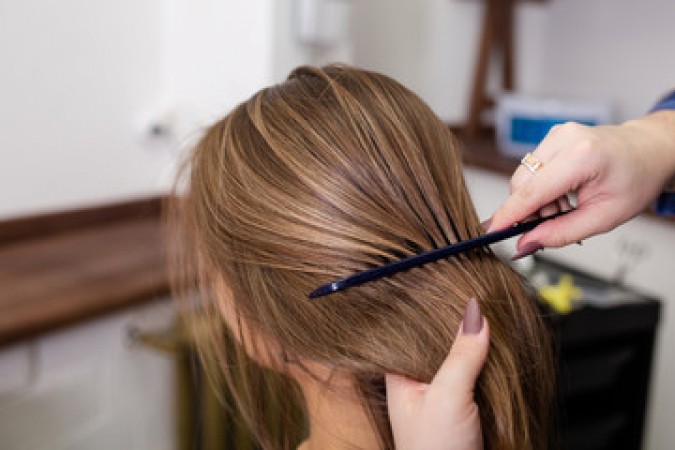
Divide your hair into sections and apply the keratin treatment according to the instructions on the kit. Comb through each section to distribute the product evenly.
Use a blow dryer to dry your hair until it's about 80% dry. This helps to set the keratin and lock in the benefits.
Using a flat iron, straighten small sections of your hair. The heat helps seal the keratin, ensuring it lasts longer.
Avoid washing your hair for the recommended period mentioned in the kit instructions. Also, use sulfate-free products to prolong the effects of the treatment. Embarking on a DIY keratin treatment journey can be both rewarding and cost-effective. With careful execution, you can achieve salon-worthy hair without breaking the bank. So, why not treat yourself to a pampering session at home?
Ganesh Chaturthi: Railways to Operate 312 Special Trains for Devotees
DPI to Empower Nations Struggling with Govt Digitalization: Rajeev Chandrasekhar
Indian army, BRO inaugurate Bailey bridge in Anjaw, Arunachal