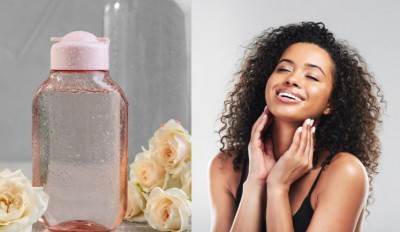
In today's world, achieving glowing and radiant skin doesn't have to come with a hefty price tag. You can create your own face serum at home, and the results will make your face bloom like a garden of roses. Not only is it cost-effective, but it also allows you to tailor the serum to your unique skin needs. Say goodbye to expensive store-bought serums and hello to a DIY solution that's simple, effective, and easy on your wallet.
Why DIY Face Serums?
1. Cost-Effective Beauty
- Save money without compromising on quality.
- Customize your serum to target specific skin concerns.
2. Control Over Ingredients
- Choose natural and organic ingredients for a healthier option.
- Avoid harmful additives and chemicals found in commercial products.
3. Personalized Skincare
- Create a serum that caters to your skin's unique needs.
- Adjust ingredients as your skin evolves.
Ingredients You'll Need
1. Carrier Oils (The Base)
- Jojoba oil
- Sweet almond oil
- Rosehip seed oil
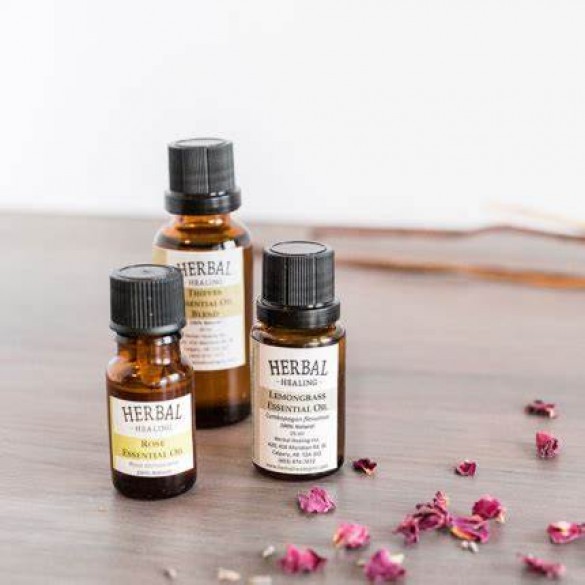
2. Essential Oils (The Magic)
- Lavender oil
- Frankincense oil
- Rose oil
3. Additional Add-Ins
- Vitamin E oil (for added nourishment)
- Aloe vera gel (for soothing properties)
Simple DIY Face Serum Recipe
Step 1: Choosing Your Carrier Oils
- Combine equal parts of your chosen carrier oils in a clean, dark glass bottle.
Step 2: Adding Essential Oils
- Add a few drops of each essential oil to the carrier oil mixture.
- Adjust the number of drops based on your preferences and skin type.
Step 3: Optional Enhancements
- Include a few drops of vitamin E oil for added antioxidant benefits.
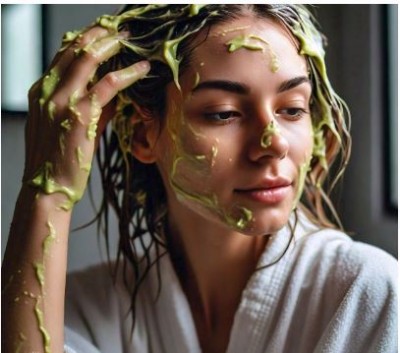
- If your skin is sensitive, add a small amount of aloe vera gel for soothing effects.
Step 4: Mixing and Storage
- Seal the bottle and shake well to ensure all ingredients are thoroughly combined.
- Store the serum in a cool, dark place to protect it from light and heat.
How to Use Your DIY Face Serum
1. Cleansing
- Start with a clean face by using a gentle cleanser.
2. Serum Application
- Apply a few drops of your homemade serum to your fingertips.
3. Gentle Massage
- Gently massage the serum into your face using upward and outward motions.
4. Moisturize
- Allow the serum to absorb fully before applying your regular moisturizer.
Benefits of DIY Face Serum
1. Skin Nourishment
- Natural ingredients provide essential vitamins and antioxidants.
2. Hydration
- Deeply hydrates the skin, leaving it soft and supple.
3. Anti-Aging
- Reduces the appearance of fine lines and wrinkles.
4. Evening Skin Tone
- Fades dark spots and evens out skin tone.
Final Thoughts
Creating your own face serum at home is an affordable and empowering way to achieve radiant, healthy skin. With the flexibility to adjust ingredients according to your skin's changing needs, you can enjoy the benefits of a customized skincare solution without breaking the bank. So, why wait? Embrace the beauty of DIY skincare and watch your face bloom like a garden of roses, naturally.