In today's digital age, capturing what's on your computer screen is an essential skill. Whether you want to save a memorable moment, report an issue to tech support, or create a tutorial, taking screenshots is a handy tool. This guide will walk you through the process on Windows, Mac OS, and Linux systems, ensuring you can easily capture and share your screen.
Step 1: Open the Snipping Tool To begin, open the Snipping Tool. You can do this by searching for "Snipping Tool" in the Windows search bar.
Step 2: Choose Your Snip Click on "New" in the Snipping Tool window. This will allow you to select the type of snip you want: Free-form, Rectangular, Window, or Full-screen. Choose the one that suits your needs.
Step 3: Capture the Screenshot Once you've selected your snip type, click and drag to capture the area of your screen you want to screenshot. Release the mouse button when you're done.
Step 4: Save Your Screenshot After capturing your screenshot, you can annotate it if needed. Then, click "File" and select "Save As" to save it to your desired location.
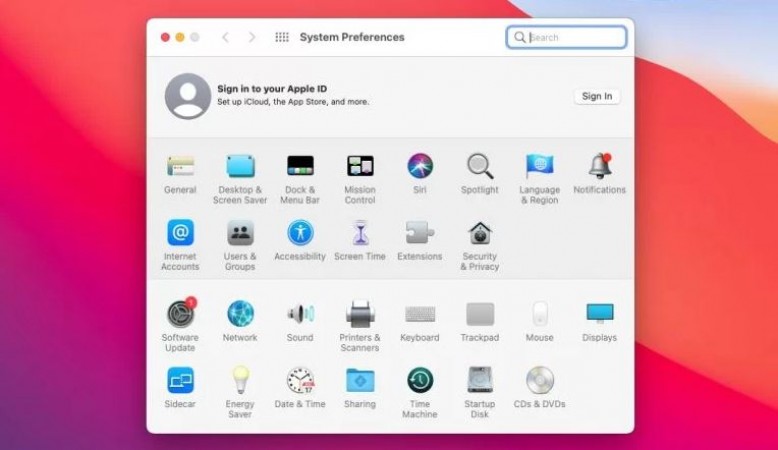
Step 1: Open Grab On Mac OS, you can use the built-in Grab utility. To open it, go to "Applications" > "Utilities" > "Grab."
Step 2: Capture Your Screen In the Grab utility, click on "Capture" in the menu bar and choose from "Selection," "Window," or "Screen." Select the appropriate option for your screenshot.
Step 3: Save the Screenshot Once you've captured the screenshot, a new window will open. Click "File" and then "Save" to save the screenshot.
Step 1: Use PrtScn Key Most Linux distributions come with a built-in screenshot tool that can be accessed using the "PrtScn" key on your keyboard.
Step 2: Capture and Save Press the "PrtScn" key to capture the entire screen. To capture only the active window, use "Alt + PrtScn." The screenshot will be automatically saved to your "Pictures" folder.
Now that you know how to take screenshots on Windows, Mac OS, and Linux, you can easily capture and share what's happening on your computer screen. Whether you're troubleshooting, documenting, or simply sharing a funny meme, these simple steps will help you get the job done. Happy screenshotting!
Reddit Introduces These new Features for the Platform More Accessible to Global Users