Drawing a bike can be an enjoyable and rewarding experience, even if you're a beginner. With a little practice and patience, you can create a masterpiece that showcases your artistic talent. This article will guide you through each step of the process, ensuring that you gain confidence as you progress.
2. Gathering Your Art Supplies
Before you begin, gather all the necessary art supplies. You'll need various pencils (HB, 2B, 4B, and 6B), an eraser, a sharpener, and drawing paper or a sketchbook. These tools will help you achieve different tones and textures in your artwork.
3. Understanding the Basic Shapes
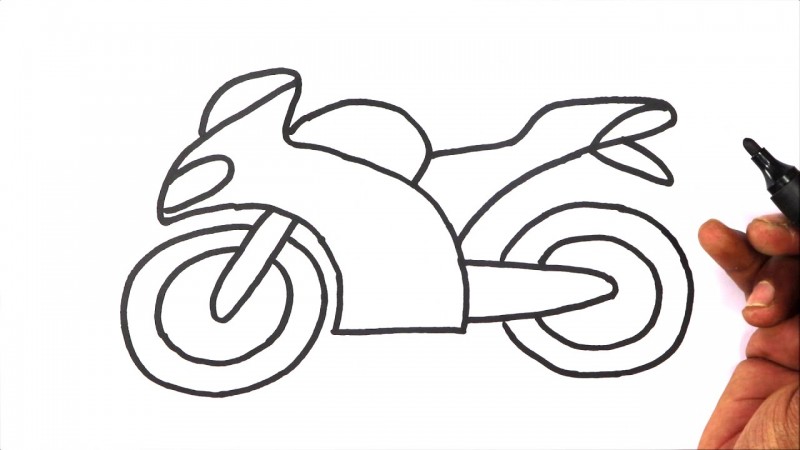
Every complex drawing starts with simple shapes. To draw a bike, break it down into basic shapes like circles, rectangles, and triangles. Understanding the bike's structure in this way will make the drawing process much easier.
4. Drawing the Bike Frame
Start by sketching the main frame of the bike using rectangles and lines. Pay attention to the angles and proportions to ensure accuracy. Don't worry about perfection at this stage; you can refine your drawing later.
5. Adding Wheels and Tires
Draw two large circles for the bike's wheels and add thinner circles inside to represent the tires. Position them correctly within the frame and make sure they are symmetrical.
6. Sketching Handlebars and Seat
Next, draw the handlebars and the seat. Use straight and curved lines to capture their shapes realistically. Remember to maintain the balance and perspective of your drawing.
7. Detailing the Bike Components
Now, add the pedals, chains, and other essential components. Pay close attention to the intricate details, as they will enhance the realism of your artwork.
8. Creating Realistic Shadows and Highlights
Shading is crucial to make your bike drawing look three-dimensional. Identify the light source and add shadows accordingly. Highlight the prominent parts to add depth to your artwork.
9. Personalizing Your Bike
You can make your bike drawing unique by adding custom designs or decals. Let your creativity flow and give your bike a personal touch.
10. Adding Background Elements
Consider adding a background to your drawing to create a sense of context. It could be a simple landscape or a bustling city street—whatever complements your artwork.
11. Final Touches and Clean-Up
Review your drawing and make any necessary adjustments. Erase any stray lines or smudges to ensure a clean and polished final product. Congratulations! You've completed your bike drawing. Remember that drawing is a skill that improves with practice, so keep experimenting and honing your techniques. With dedication and perseverance, you'll continue to create impressive artworks.
Why Insurance Coverage is Crucial for Effective Risk Management