Amaranth, a vibrant and nutritious plant, can thrive indoors with the right care. In this comprehensive guide, we'll walk you through the process of growing amaranth indoors. Whether you're a seasoned gardener or a beginner, these simple steps will help you cultivate this versatile and beautiful plant in your own home.
Before you start growing amaranth indoors, it's essential to choose the right variety for your needs. Here are some popular options to consider:
Joseph's Coat amaranth is known for its stunning and colorful foliage, making it a popular choice for ornamental purposes.
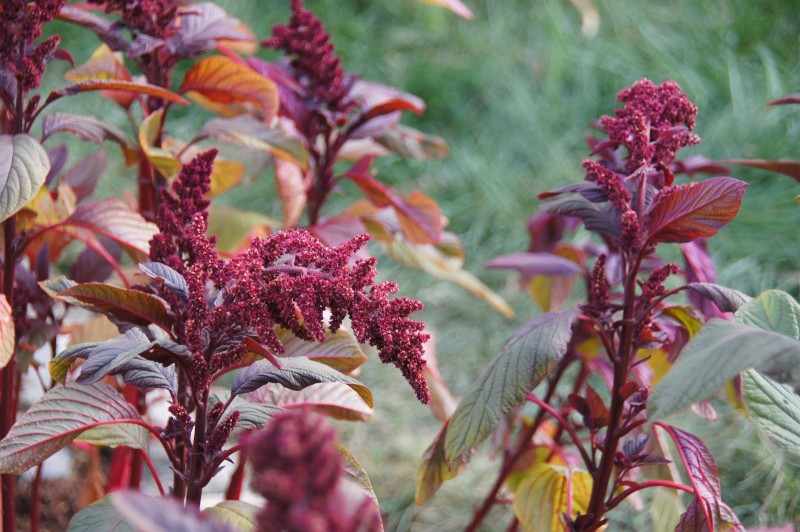
Red amaranth is well-suited for both ornamental and culinary purposes. Its vibrant red leaves are not only visually appealing but also packed with nutrition.
Spleen amaranth is primarily grown for its tender young leaves, which are delicious and rich in vitamins and minerals.
Amaranth loves sunlight. Place your indoor amaranth in a location that receives at least 6-8 hours of direct sunlight each day.
If you don't have access to outdoor sunlight, consider using a south-facing window to provide the necessary light for your amaranth.
Choose a well-draining potting mix to ensure that your amaranth's roots don't become waterlogged.
Mix in some compost or organic matter to enrich the soil and provide essential nutrients for your amaranth.
Plant amaranth seeds about 1/4 inch deep in the soil. Make sure to space them evenly to prevent overcrowding.
Keep the soil consistently moist but not waterlogged. Amaranth prefers slightly damp conditions.
To encourage bushier growth and prevent legginess, prune your amaranth regularly. Pinch off the top growth when it reaches 4-6 inches in height.
Amaranth is not heavy feeders. Use a balanced, water-soluble fertilizer sparingly to avoid overfeeding.
Keep an eye out for common indoor plant pests like aphids and spider mites. Treat them promptly with natural remedies or insecticidal soap.
You can start harvesting the leaves when they are young and tender, typically around 4-6 weeks after planting. Use sharp scissors to cut the leaves just above the stem.
If you're growing amaranth for its seeds, allow the flower heads to fully mature and dry on the plant. Harvest the seeds by gently shaking or rubbing the flower heads.
Amaranth leaves are versatile and can be used in salads, stir-fries, or as a spinach substitute in various recipes.
Amaranth seeds are a powerhouse of nutrition. Use them in cereals, granola, or as a gluten-free flour substitute.
Amaranth is rich in vitamins, minerals, and protein, making it a valuable addition to your diet.
For those with gluten intolerance, amaranth is an excellent option for baking and cooking.
Growing amaranth indoors can be a rewarding experience. Whether you're cultivating it for its ornamental beauty or its nutritional value, following these steps will help you successfully grow this remarkable plant in the comfort of your own home.
So, why wait? Start your indoor amaranth garden today and enjoy the benefits of fresh, nutritious greens right at your fingertips.
Samosa to Chips: South Indian Snacks That Are the Healthiest
What milk alternatives are healthier? See what the professionals have to say